maximizing mushroom yield
Showing all 4 results
-
Sale!

Penis Envy Dino Egg Magic Mushrooms | VERY POTENT | Deadhead Chemist
$150.00 – $650.00 Select options This product has multiple variants. The options may be chosen on the product page -
Sale!

Penis Envy Magic Mushroom *Premium*
$130.00 – $620.00 Select options This product has multiple variants. The options may be chosen on the product page -
Sale!
Thai Koh Samui Super Strain
$150.00 – $650.00 Select options This product has multiple variants. The options may be chosen on the product page -
Sale!
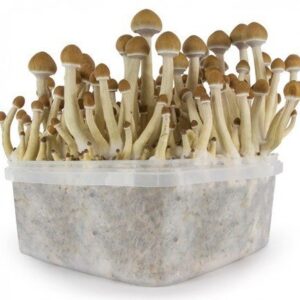
ZAMNESIA GROW KIT ‘GOLDEN TEACHER’
Original price was: $70.00.$55.00Current price is: $55.00. Add to cart